
How to Easily Paint a Plastic Bathtub in a Mobile Home (Proven Method)
Are you looking to give your old plastic bathtub in your mobile home a fresh new look? But don’t know how to easily paint a plastic bathtub in a mobile home, then you have come to the right place.
Eventually, this article will be all about painting a plastic bathtub. Painting your bathtub can be a great way to update the bathroom without the cost and hassle of replacing it.
So, let’s transform your tub and give your bathroom a whole new look.
How to Easily Paint a Plastic Bathtub in a Mobile Home
Painting a plastic bathtub in a mobile home might sound is easy if you have the right tools, materials, and a bit of patience. It is a straightforward and rewarding DIY project, so be ready to walk through the process step by step.
Materials Needed
- Mild cleaner and sponge
- Sandpaper (220-grit)
- Painter’s tape
- Plastic sheeting or tack cloth
- Paint suitable for bathtubs.
- Paintbrushes or foam roller
- Protective gloves and mask
- Ventilation fan (optional but recommended)
Step 1: Preparing the Surface
# The key to a successful painted tub is proper surface preparation. This ensures the paint will adhere properly and last for years to come. Here are the steps:
# Clean the tub thoroughly. Use a degreasing cleaner to remove any soap scum, grime, or oily residue. Make sure to get into all the nooks and crannies. Rinse the tub completely and allow it to dry fully.
# Lightly sand the tub. Use fine-grit sandpaper (220-grit or higher) to de-gloss the surface and create a bit of texture for the paint to grip onto. When finished, wipe away any sanding dust.
# Tape off any areas you don’t want to be painted. Use painter’s tape to protect the floor, walls, fixtures, and other surrounding areas. This will give you clean, crisp paint lines.
# Clean the tub one more time. Cover the surface with a tack cloth to remove any remaining dust or debris. The tub needs to be perfectly smooth and clean before painting.
Step 2: Selecting the Right Paint
Not all paints are created equal when it comes to plastic bathtubs. You’ll want to choose a speciality paint formulated for plastics and high-moisture environments. Here are some top options:
1. Rust-Oleum Tub & Tile Refinishing Kit: This is a two-part epoxy paint system specifically designed for porcelain, fibreglass, and plastic tubs. It provides a durable, glossy finish.
2. INSL-X Cabinet Coat Enamel: This interior enamel paint has excellent adhesion to plastics and a smooth, hard finish that can withstand moisture.
3. Krylon Fusion All-In-One: This spray paint bonds directly to plastic surfaces without primer. It’s a convenient single-step option.
Note:
Whichever paint you choose, make sure it is labelled as suitable for bathtub and tile applications. Avoid standard latex or oil-based paints, which won’t hold up well in a wet environment.
Step 3: Painting the Tub
With your surface prepared and paint selected, you’re ready to start painting. Follow these steps:
# Apply painter’s tape and plastic sheeting. Thoroughly protect the floor, walls, and fixtures around the tub to avoid any paint overspray.
# Clean the tub one last time. Wipe down the surface with a tack cloth to remove any final bits of dust or debris.
# Mix the paint according to the manufacturer’s instructions. For epoxy paints, this usually involves combining the base coat and activator. Stir the mixture thoroughly.
# Apply the first coat of paint. Use a high-quality synthetic brush or small foam roller to apply an even, thin layer of paint. Work in sections, painting the sides and bottom of the tub. Allow the first coat to fully dry, usually 1-2 hours.
# Sand lightly between coats. Once dry, lightly sand the surface with fine-grit sandpaper to help the next coat adhere better. Wipe away any sanding dust.
# Apply the second coat of paint. Brush or roll on a second full, even coat of paint. Make sure to get good coverage, especially in corners and edges. Let this final coat dry completely, about 2-4 hours.
# Remove the painter’s tape and plastic. Carefully peel away the tape and plastic, revealing your freshly painted tub.
Note:
Remember, It’s mandatory to allow the paint to fully cure for 3-7 days before using the tub. Refer to the manufacturer’s recommended cure time. During this time, avoid standing in the tub or placing any heavy objects inside.
Aftercare and Maintenance
Proper aftercare is essential to maintaining the look and durability of your painted tub. Here are some tips:
- Avoid abrasive cleaners. Stick to mild, non-abrasive cleaners and soft cloths when cleaning the painted surface. Harsh chemicals and scrubbing can damage the finish over time.
- Use a squeegee after bathing. Wipe down the tub walls and floor with a squeegee to minimize water spots and staining after each use.
- Re-caulk the tub as needed. Check the caulk around the tub edges periodically and re-caulk if it begins to crack or peel away. This will help prevent moisture from seeping under the paint.
- Be gentle when cleaning. Avoid standing directly in the tub when cleaning. Instead, lean in and wipe down the surface to prevent scratches or chips in the paint.
- Consider adding a non-slip mat. Place a rubber or vinyl bath mat in the tub to prevent slips and avoid wearing down the paint over time.
Precautions and Safety
- As with any DIY home project, there are a few important safety precautions to keep in mind when painting a plastic bathtub:
- Ventilate the area. Paint fumes can be harmful, so work in a well-ventilated space. Open windows and use fans if possible.
- Wear protective gear. Wear a respirator mask, safety goggles, and gloves to avoid inhaling paint particles or getting chemicals on your skin.
- Properly dispose of materials. Paint cans, brushes, rags, and other materials should be disposed of according to local hazardous waste regulations.
- Avoid use during cure time. Do not use the tub for at least 3-7 days after painting to allow the paint to cure fully. Stepping in the tub too soon can damage the finish.
- Watch for cracks or chips. Inspect the painted tub regularly and address any cracks, chips, or peeling areas promptly to prevent further damage.
Why Paint a Plastic Bathtub?
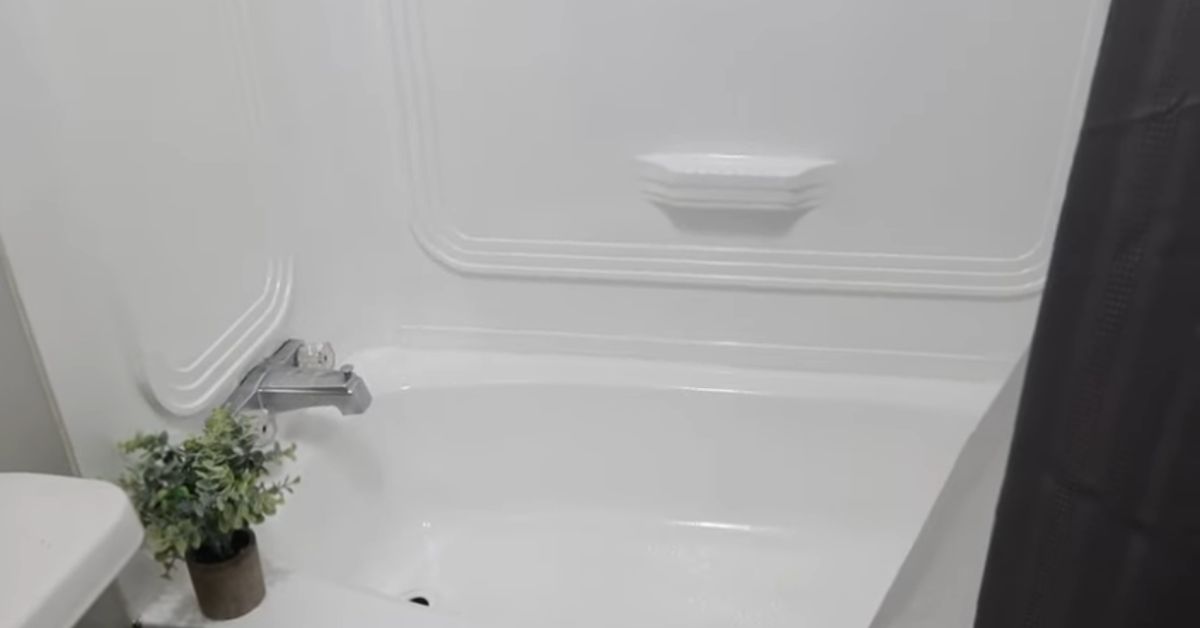
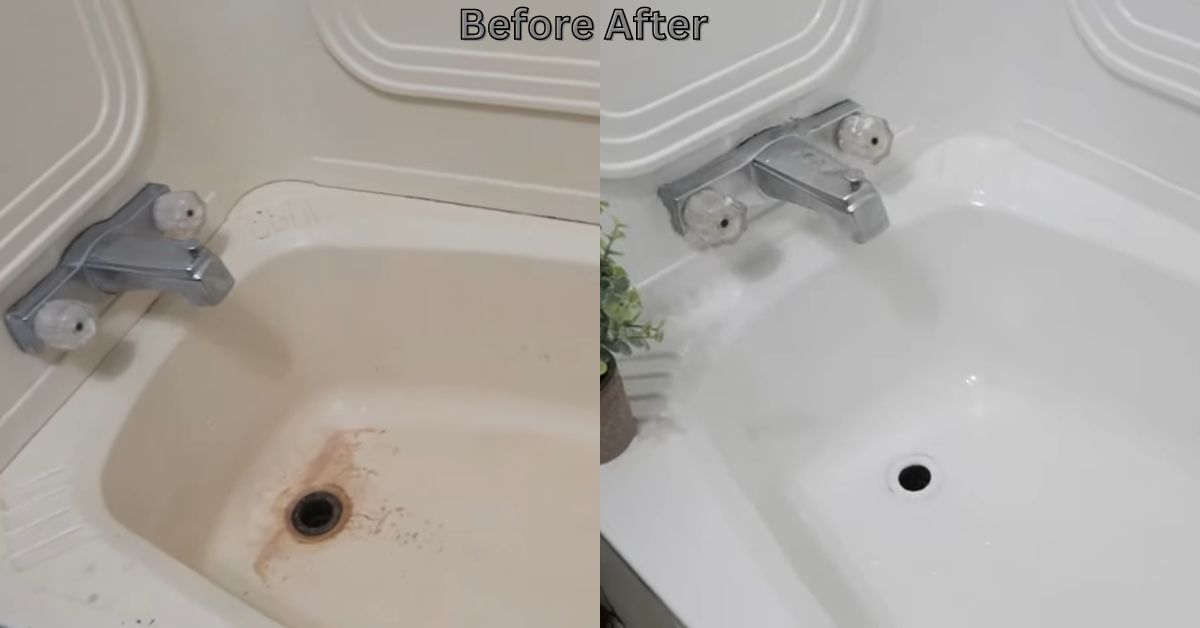
Mobile home bathtubs are often made of lightweight, durable plastic. While this material is practical, it can become discoloured over time, especially with frequent use. Painting your bathtub offers several benefits:
- Renewed Appearance: A fresh coat of paint can instantly brighten up your bathroom and make it more inviting.
- Easy Maintenance: Painted surfaces are easier to clean and resist staining compared to bare plastic.
- Cost-Effective Solution: Painting is significantly cheaper than replacing the entire bathtub.
Final Words
Painting your plastic bathtub in your mobile home is a simple and affordable way to refresh your bathroom. If you follow all the steps mentioned, you can achieve a beautiful and durable finish. Therefore, it will last for years to come when you maintain it properly.

One Comment